
How To Make Professional Quality Pads
You can make professional quality pads at home/in your shop with a few simple tools. Here is the simplest set-up, in plastic.
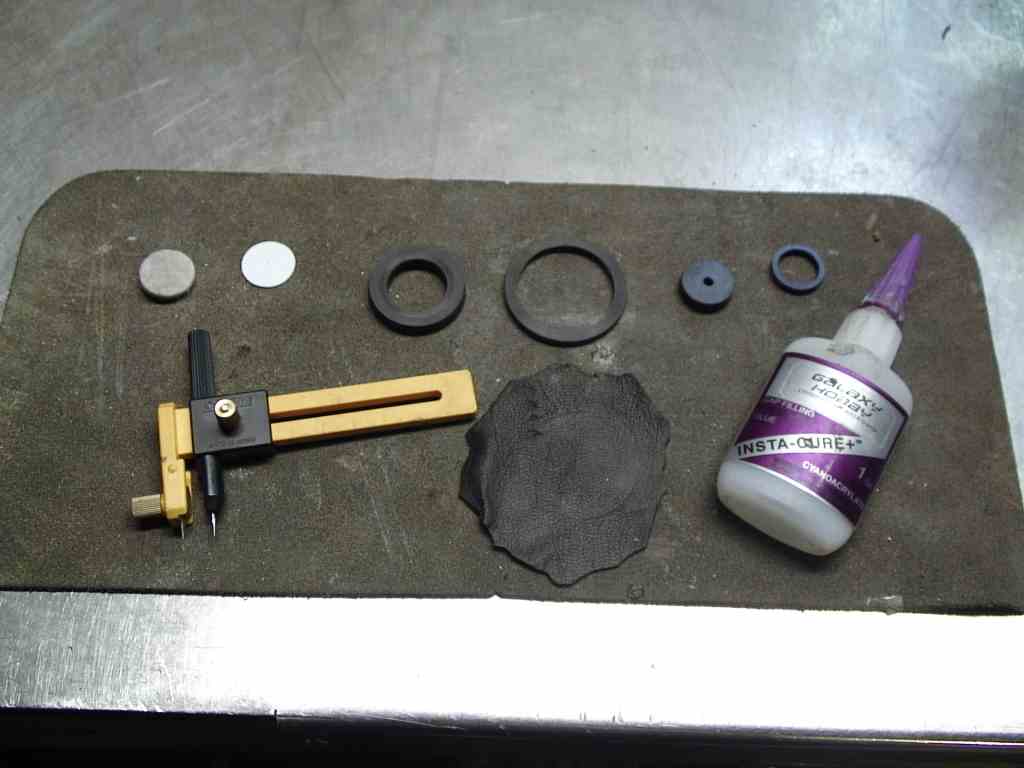
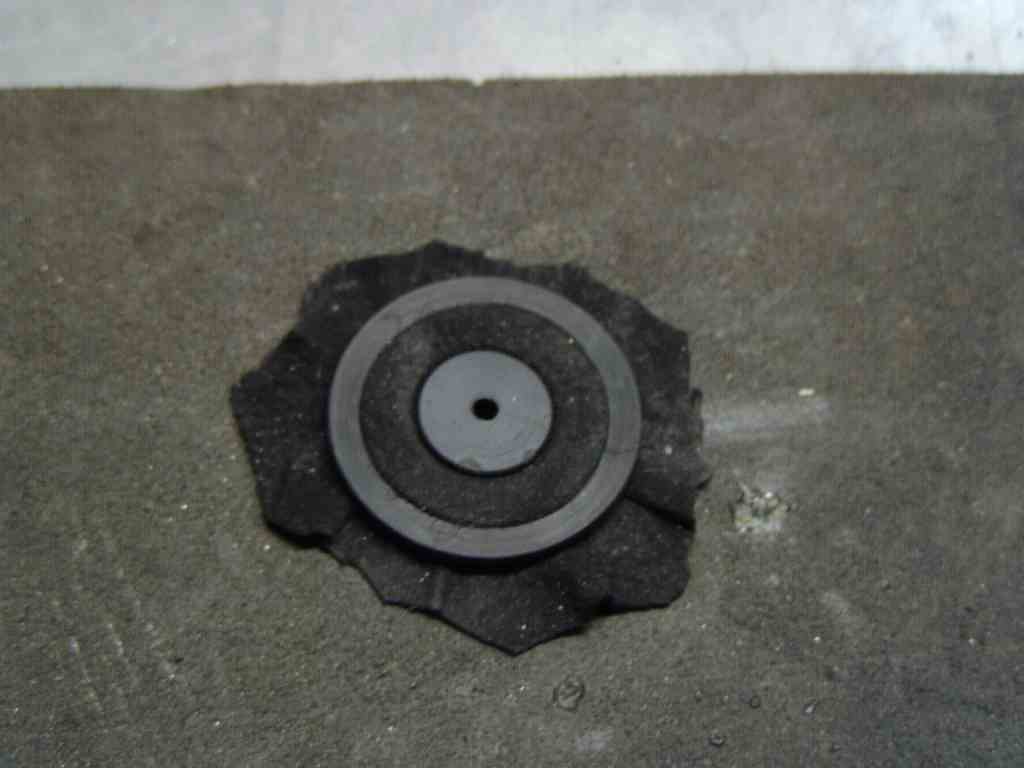
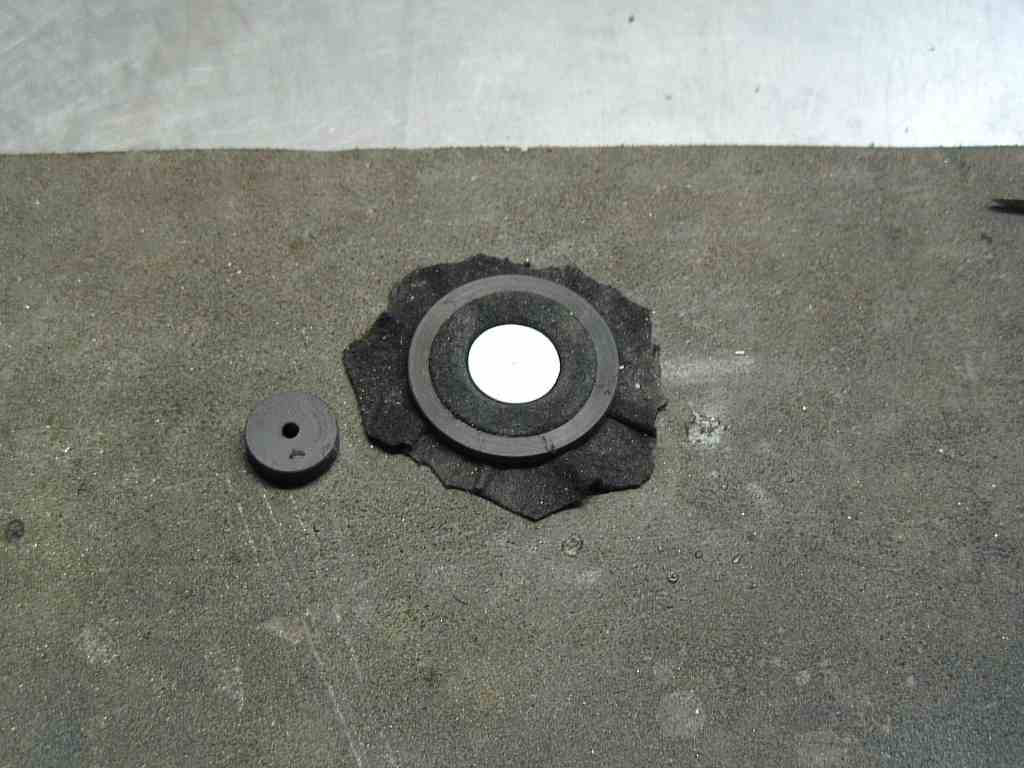
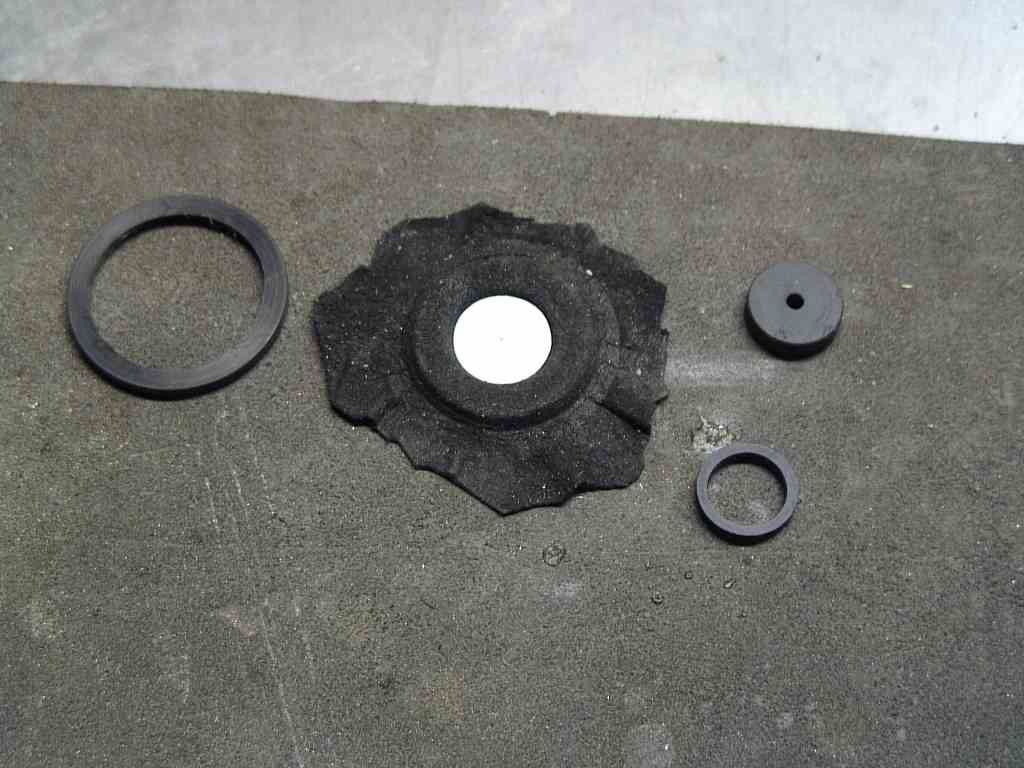
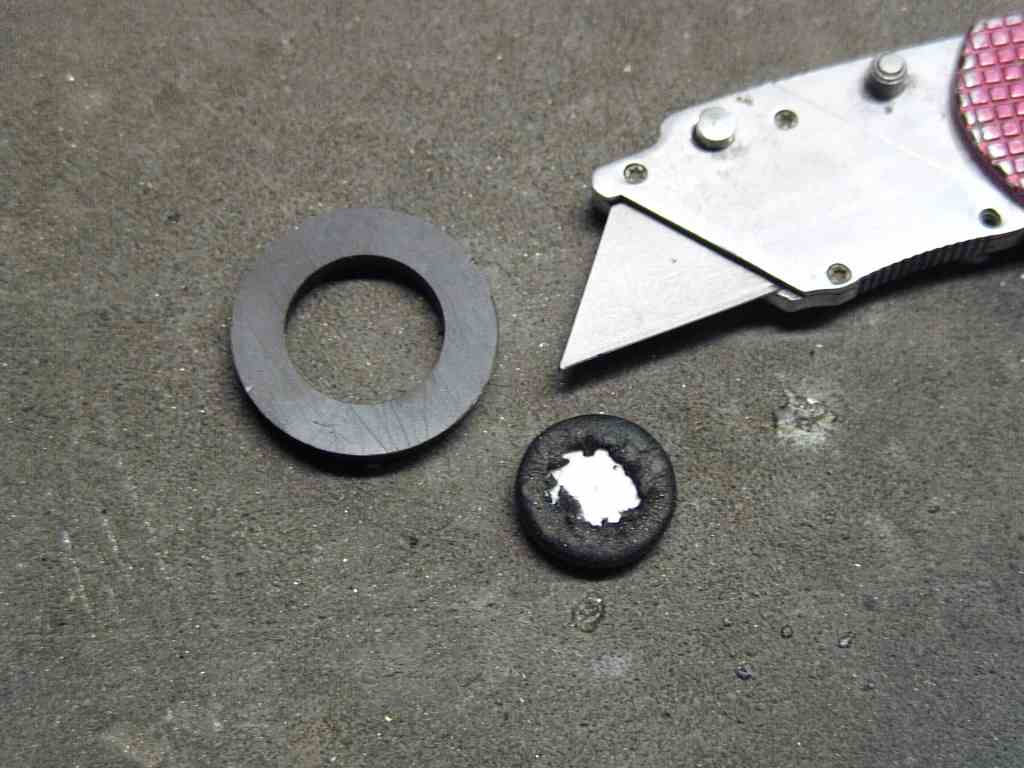
The tooling consists of a round die (piece of plastic with a hole in it the size of the pad you want), a matching punch, a ring that fits around the outside of the die, and a ring that fits the inside of the die. Those 4 pieces for each size pad desired. Then you need your materials - leather, felt, backing. I cut felt/backing with a razor-tipped compass. Preparation/treatment of leather and various materials will be discussed on an upcoming page. The glue should be slow drying.
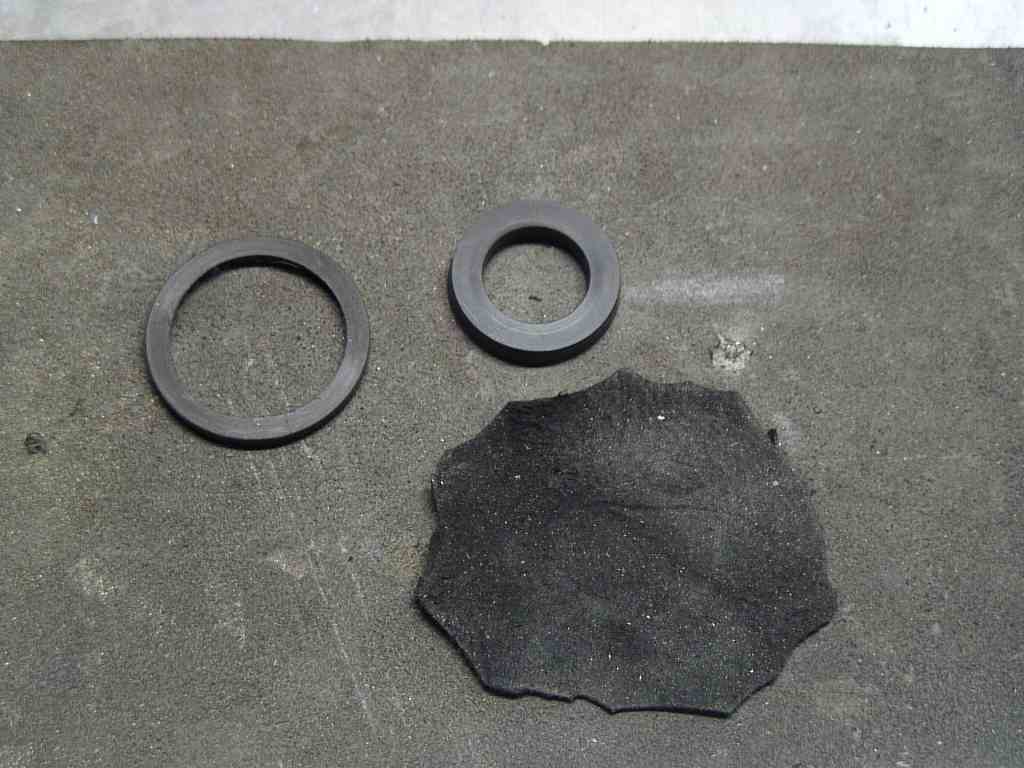
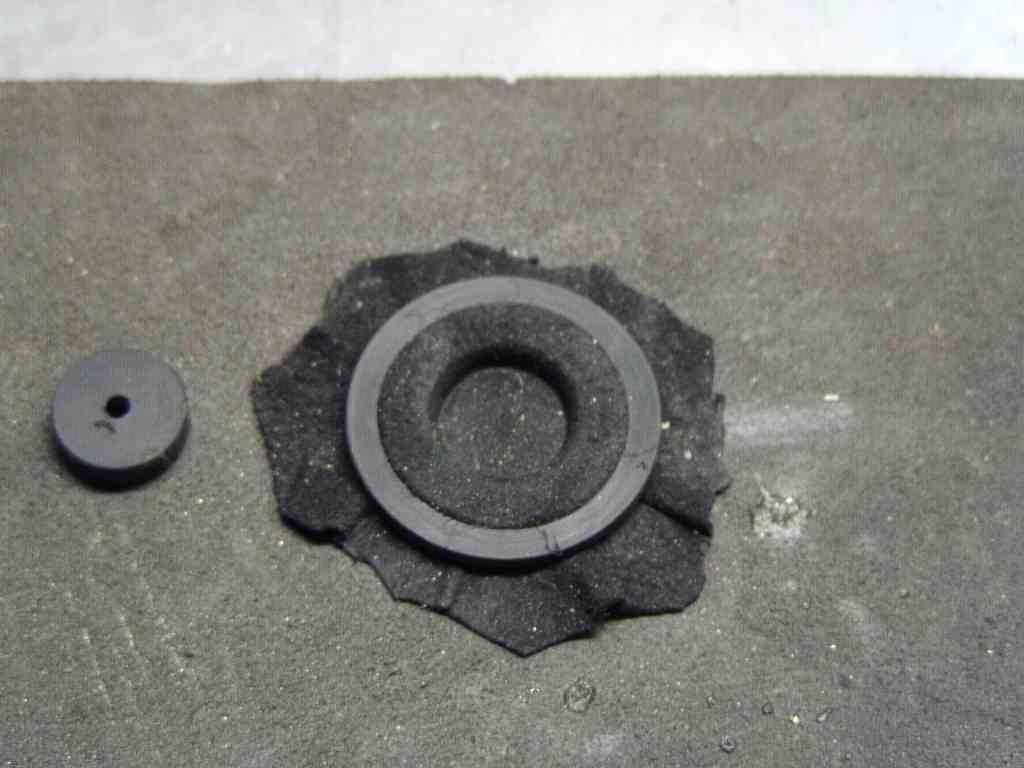
The leather (this is very thick deerskin - 4x thicker than normal pad leather. Thinner leather will produce much crisper pad edges), the die (the outside rim is tapered), an leather clamping ring. These are made of plastic. Better ones would be from aluminum or steel.

Put the leather over the die.
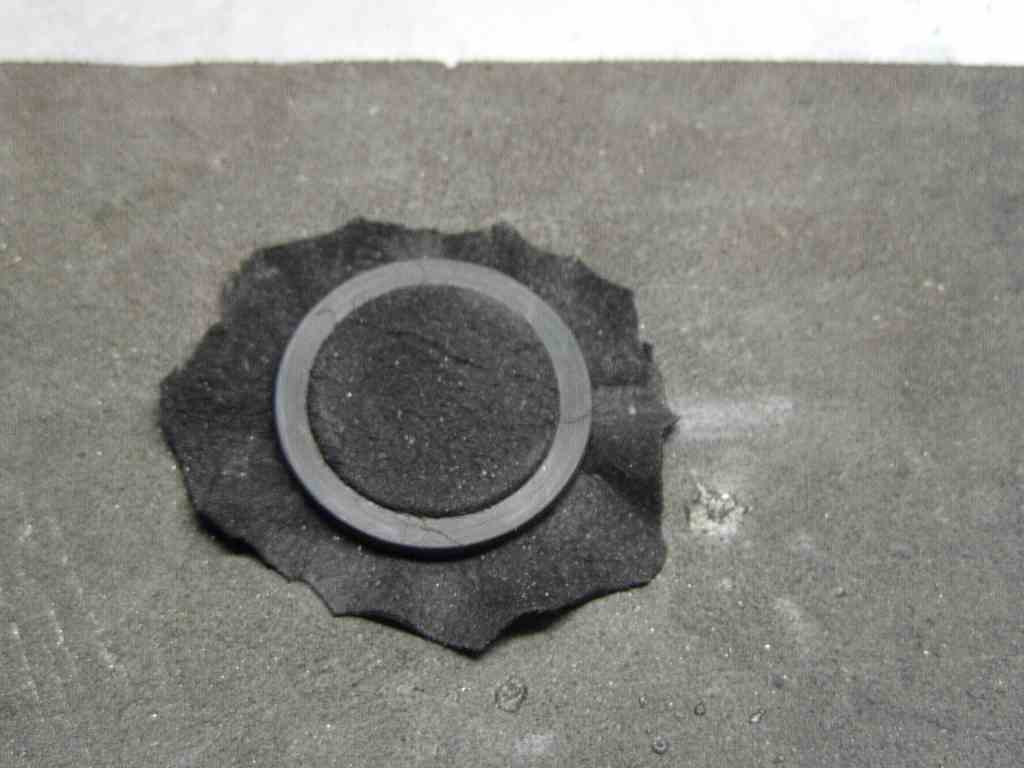
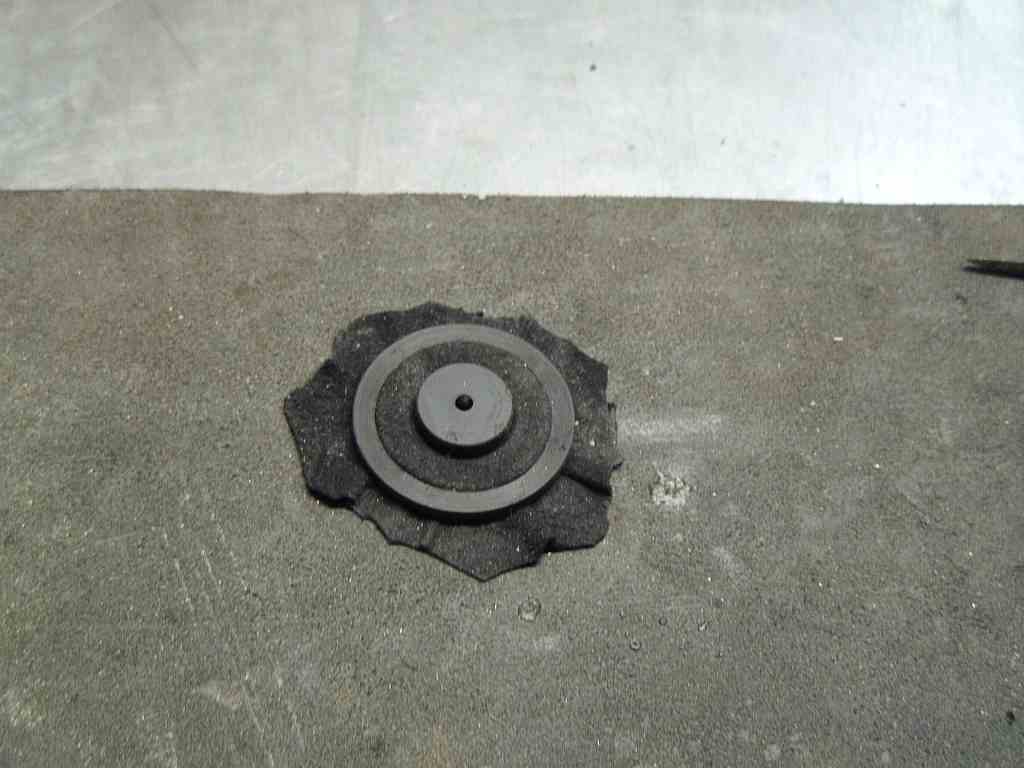
Clamp the leather by putting the ring over the die firmly.
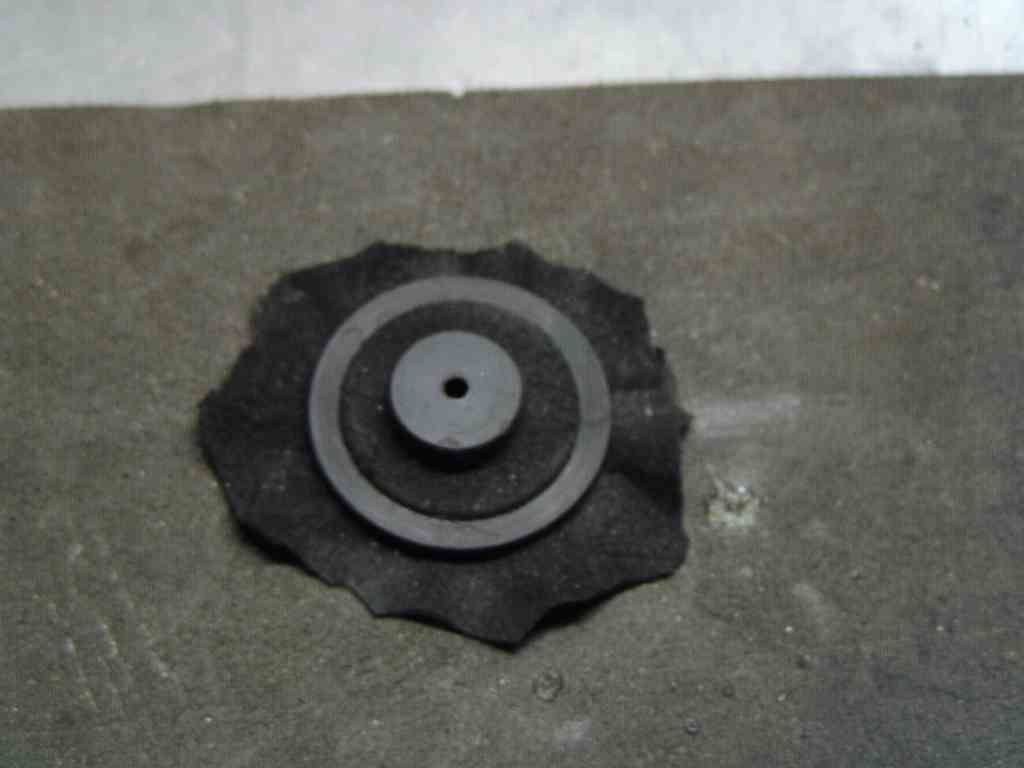
Place the punch on the leather, over the die hole.
Press the punch into the hole. For bigger pads an arbor press must be used.
Remove the punch by twisting it, so the leather doesn't come out. A handle on the punch would be nice.
Put the felt and backing into the leather impression.
Press felt and backing into the hole with the punch.
Remove the punch and the ring.
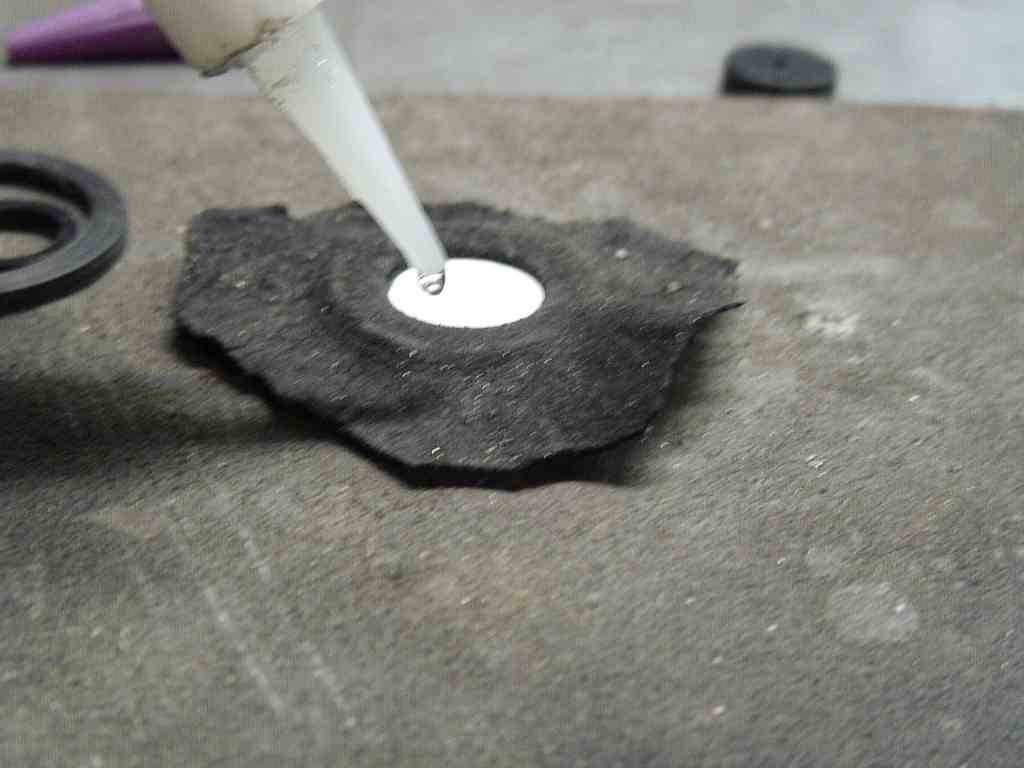
Glue the outer edge of the backing and the leather. A slow drying glue is needed.
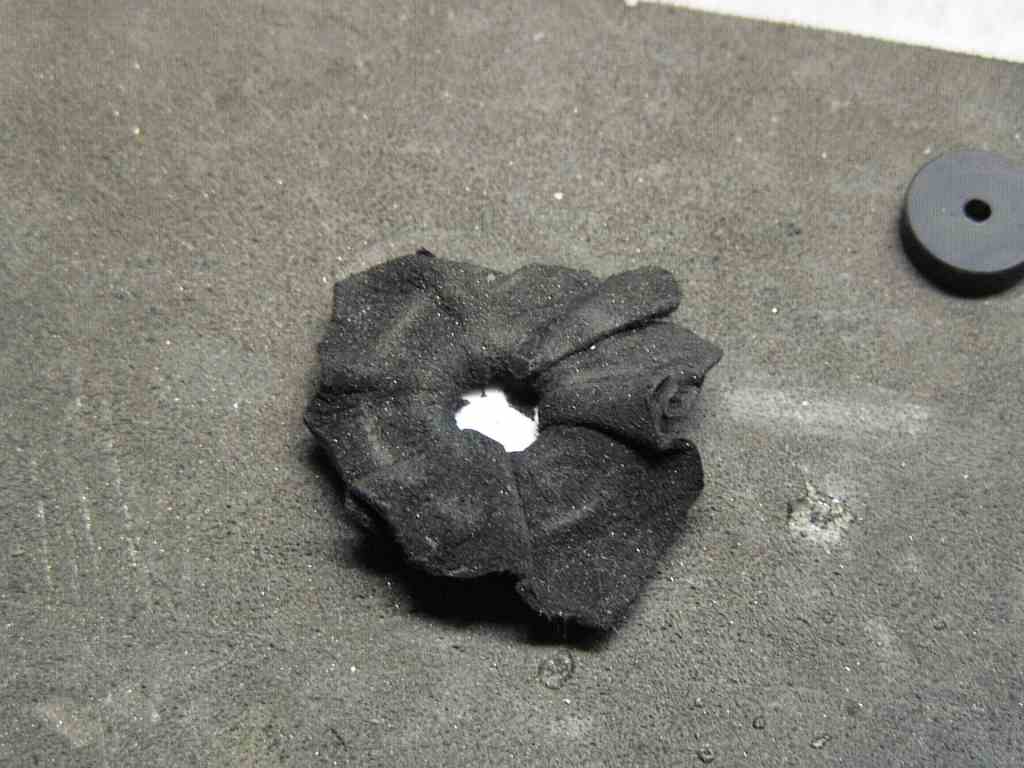
Pull the edges of the leather together....
... so you can pass them through the small ring (pad is removed from die for demonstration only - don't do that.
Leave the pad in the die.
Pull the edges out firmly, forcing the ring against the leather covered backing.
Press again with the punch and hold/clamp/lock, until glue has cured.
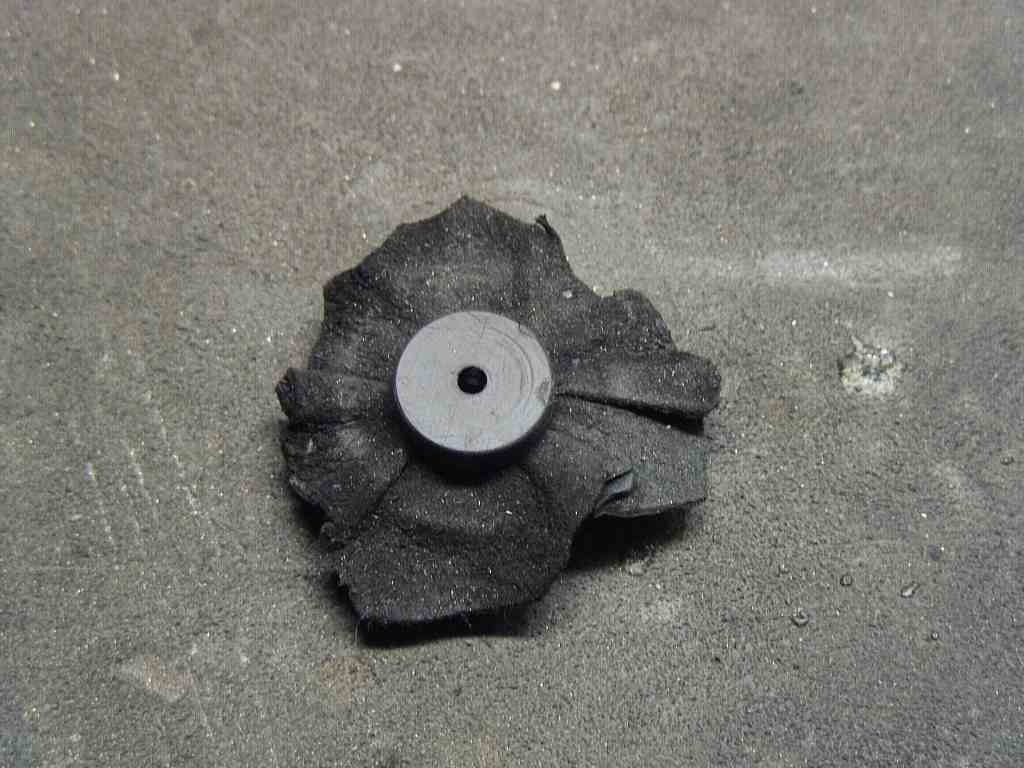
Trim off the excess leather with a razor.
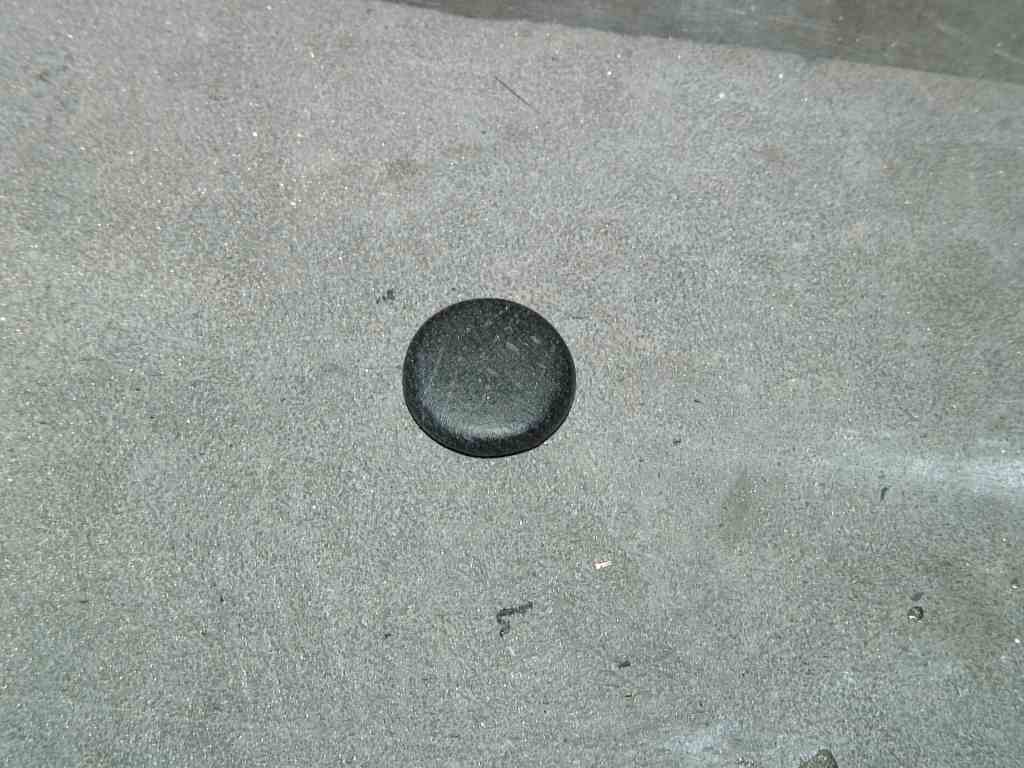
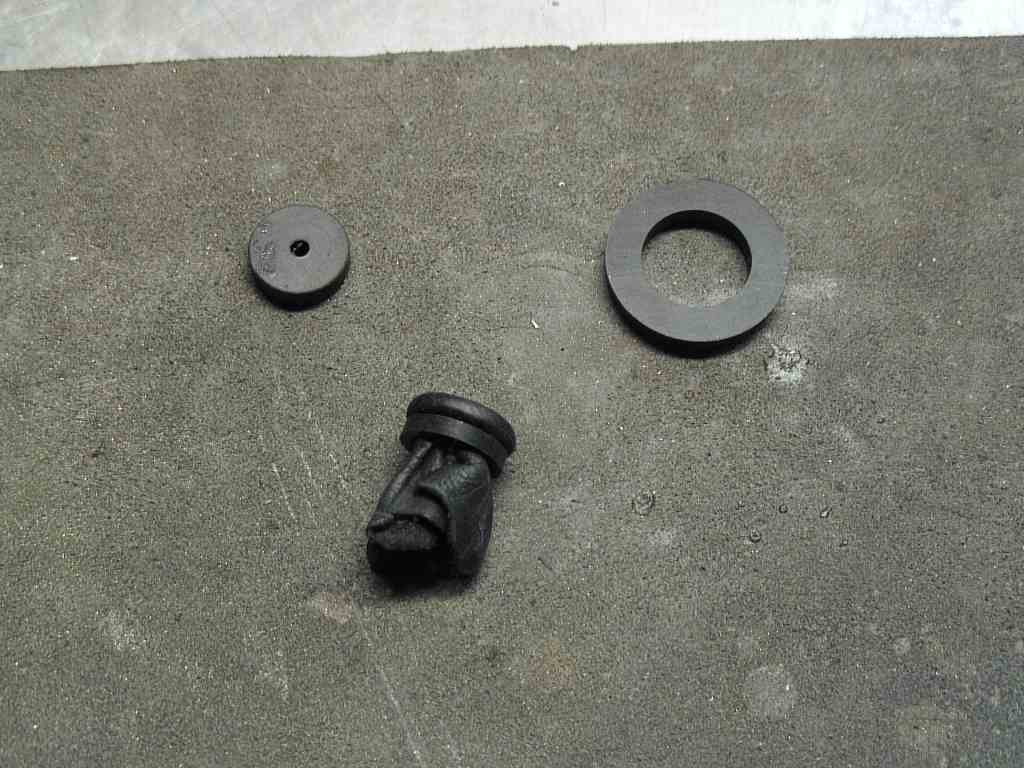
A pad ready for mounting (as a plain pad) or punching for
rivet or resonator. Again, the thinner the leather, the shaper the edge of the pad.
This pad has very, very thick leather.
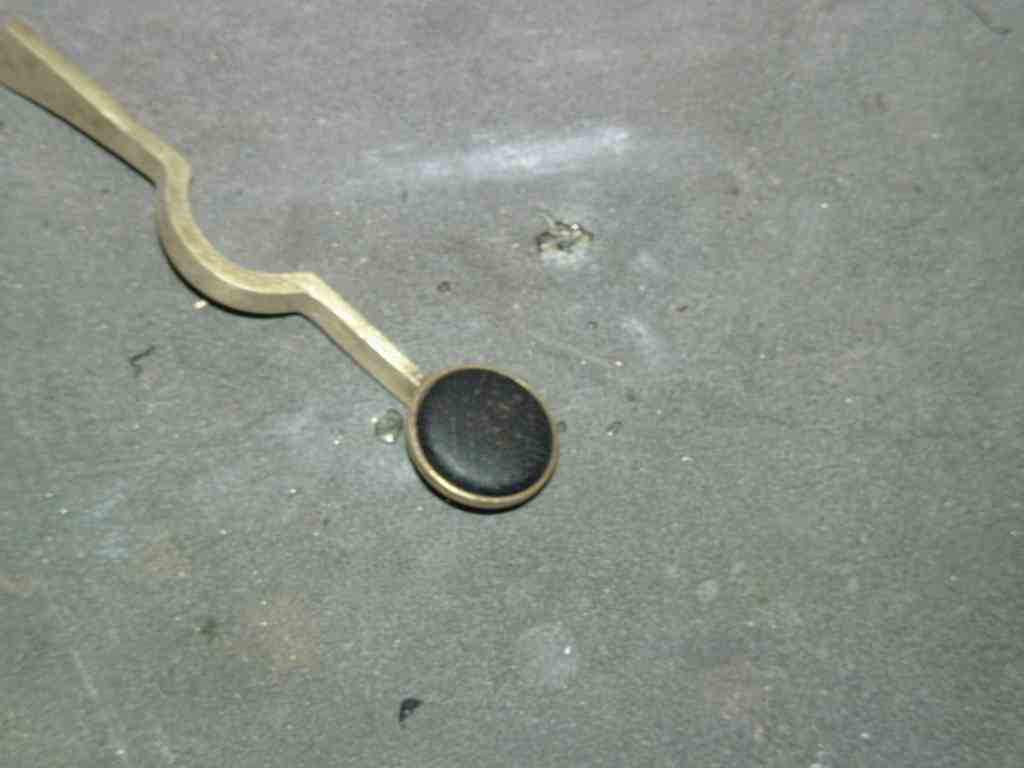
Ready for seating.
This is the simplest set-up. Larger pads will necessitate using an arbor press.
Better tooling would be made from aluminum or steel. Heating elements on the
die/punch would form the leather like a hot iron presses clothes. A complete assembly
line could easily be set up, one pad size per station. The operator moves from
station to station, as the glue is curing on the previously pressed rings - great for the professional repair shop
or the guys with GAS.
Feel free to contact me about design ideas or machining services.
Coming Soon!
The Less Technical Side Of The Saxophone - Come In And Refresh Yourself
The Studio (Live Audio/Video) - The Practice Room (Lessons/Resources) - Forum - Guest Artist Profiles
Under Construction. Updated Daily!!